 PersonaGamer
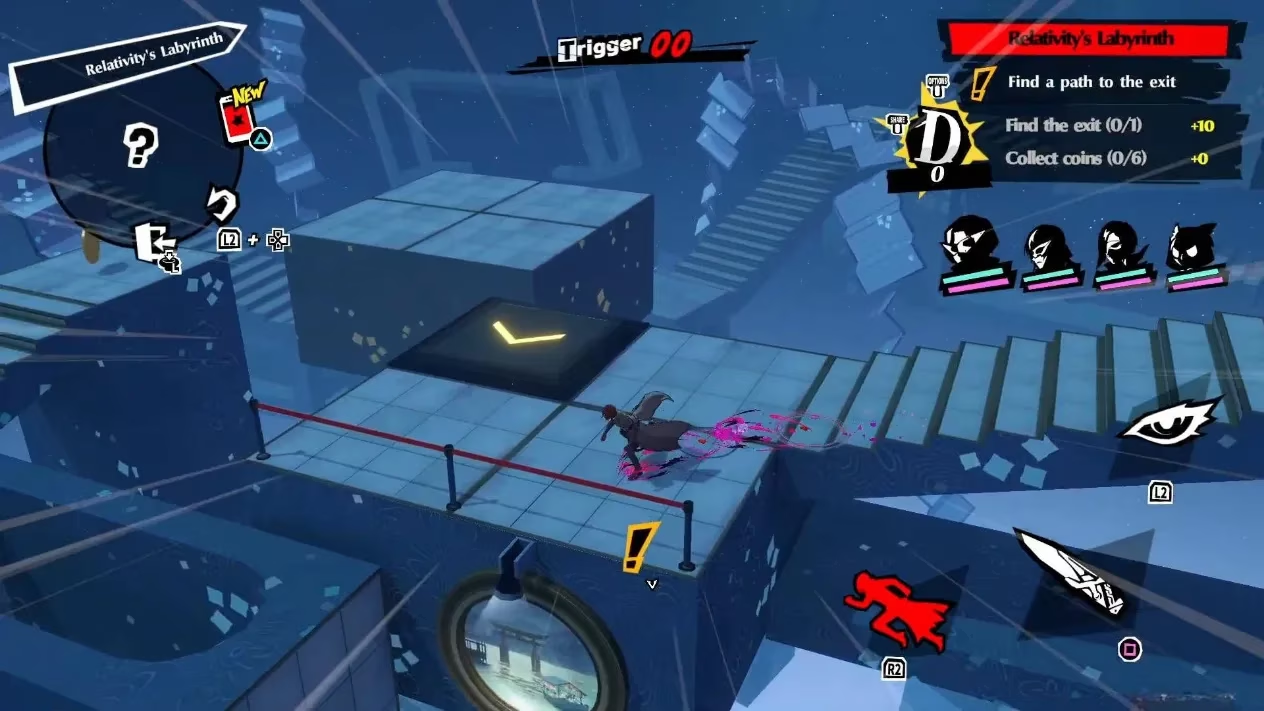
In 2026, the crossover event "Crossroads of Fate" in Persona 5 The Phantom X continues to deliver brain‑twisting content that marries the Phantom Thieves with their Phantom X counterparts. Among the side activities bundled into the Museum and Bank Arc is a spatial puzzle gauntlet called Relativity's Labyrinth. It doesn't just ask players to explore Madarame‑inspired galleries—it demands they reshape them on the fly. Think of it as a living kaleidoscope: every switch clicked twists the environment into a new configuration, and the real art lies in achieving symmetry with the fewest moves possible. Entering this challenge without a plan is like trying to thread a needle while riding a rollercoaster—disorienting at best, disastrous at worst.
The labyrinth's core restriction is a hidden switch counter. To snatch every reward, a stage must be cleared while triggering switches below a strict limit. This guide breaks down each of the four stages, spotlighting coin locations and the most efficient switch sequences. Players will need to have progressed through main missions up to section 2‑7 of the event to unlock all stages.
Stage 1: The Rotating Archways
This introductory stage is mercifully forgiving, though it still teaches the fundamental metaphor of the labyrinth: every toggle re‑braids the space. Six coins are scattered, and the true test is aligning the three rotating archways at the end.
-
First switch: immediately after the starting path, activates a sliding floor tile. Cross it to grab the first coin.
-
Two‑switch staircase: down the stairs, a pair of switches flips a previous ramp into a stairway. Ascend for the second coin. Nearby, a purple portal offers a combat encounter with a lone Nue—defeat it for extra spoils.
-
Dead‑end switch: lowers a staircase leading to coin three. Grappling up from the far corner reveals the newly positioned steps.
-
Trio of archway switches: before jumping down, locate the three switches. Start at the farthest to grab its adjacent coin, press it once, then return to the first switch and press it once. This harmonizes the arches below, opening a straight shot to the exit.
Stage 2: Pillars and Rearrangement
Complexity escalates here, yet the logic remains lucid if players treat the pillars like dominoes—one topple directs the whole chain. The stage opens with a leftward path and a switch that rotates a block to forge a bridge.
-
Coin one: immediately after crossing that bridge, veer left.
-
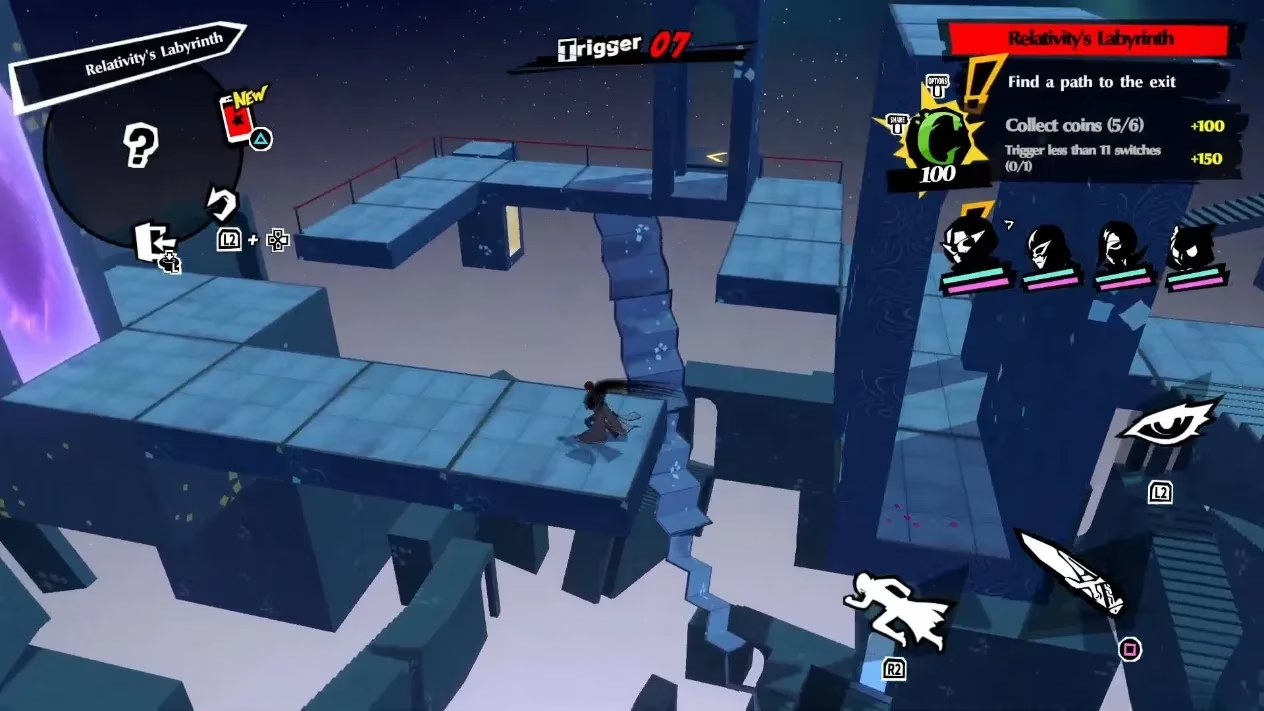
Dual switches: further on, press the lower switch twice to lower a tall pillar. Before triggering the next switch seen in the image below, ensure you snatch the coin at the bottom of the right‑hand stairs; stepping on that switch will raise the stairs permanently, sealing the coin away.
-
Pillar‑hopping: after the stairs rise, backtrack to climb them. A new switch lowers another pillar, granting access to a coin. Reactivate it immediately to reset the pillar position—this creates the route to a purple portal.
-
Rotating platform chamber: enter the portal and find a switch flanked by two rotating platforms. Start on the left platform, jump to a side alcove for a coin, then vault from the left platform onto the switch. This spins both platforms, allowing a leap to the right side.
-
Final stretch: a second portal leads to another Nue fight and a coin. Beyond, one last switch rearranges the level into a direct exit corridor.
Stage 3: Hidden Drops and the Nuanced Buttons
This section feels like navigating a mysterious puzzle box where compartments open only when the right combination of panels is pressed. Several coins hide off the beaten path, and players must learn to read the environment for subtle drop‑downs.
-
Initial coin: upon starting, turn right to a dead end.
-
First puzzle: two adjacent switches control two rotating pillars. Press the left switch once to collect a coin, then press it a second time to align the path forward.
-
Hidden grapple: after stepping on a later switch that reshapes the entrance corridor, pause at the spot where a drop leads to a lower route. This route circles back to a grappling hook point, lifting players to a coin and a portal that returns them to the main path.
-
Simple switch maze: follow a linear but twisty sequence, using a portal to fight a third Nue and grab the last coin. The exit is just a sprint away.
Stage 4: The Grand Maze of Portals and Precision
Stage 4 is the labyrinth’s magnum opus—a tangled weave of portals and vertically stacked pathways that forces players to hold a three‑dimensional map in their mind, much like a sculptor visualizing a finished statue from an unformed block of marble.
-
Opening sequence: from the entry, hit every switch along the left side to reposition a purple portal so it connects to a new area instead of looping back.
-
Tri‑switch puzzle: in the new section, step on the upper switch to create a bridge to a floating third switch. Activate that third switch, then return to the first and press it twice. This forms a climbable path to a hanging coin.
-
Portal chain one: shortly after, a switch spawns a right‑side path. Follow it through a portal to an upper floor of a previous area, where a switch reveals yet another coin. Retrace through the portal, then take the alternative path to descend deeper.
-
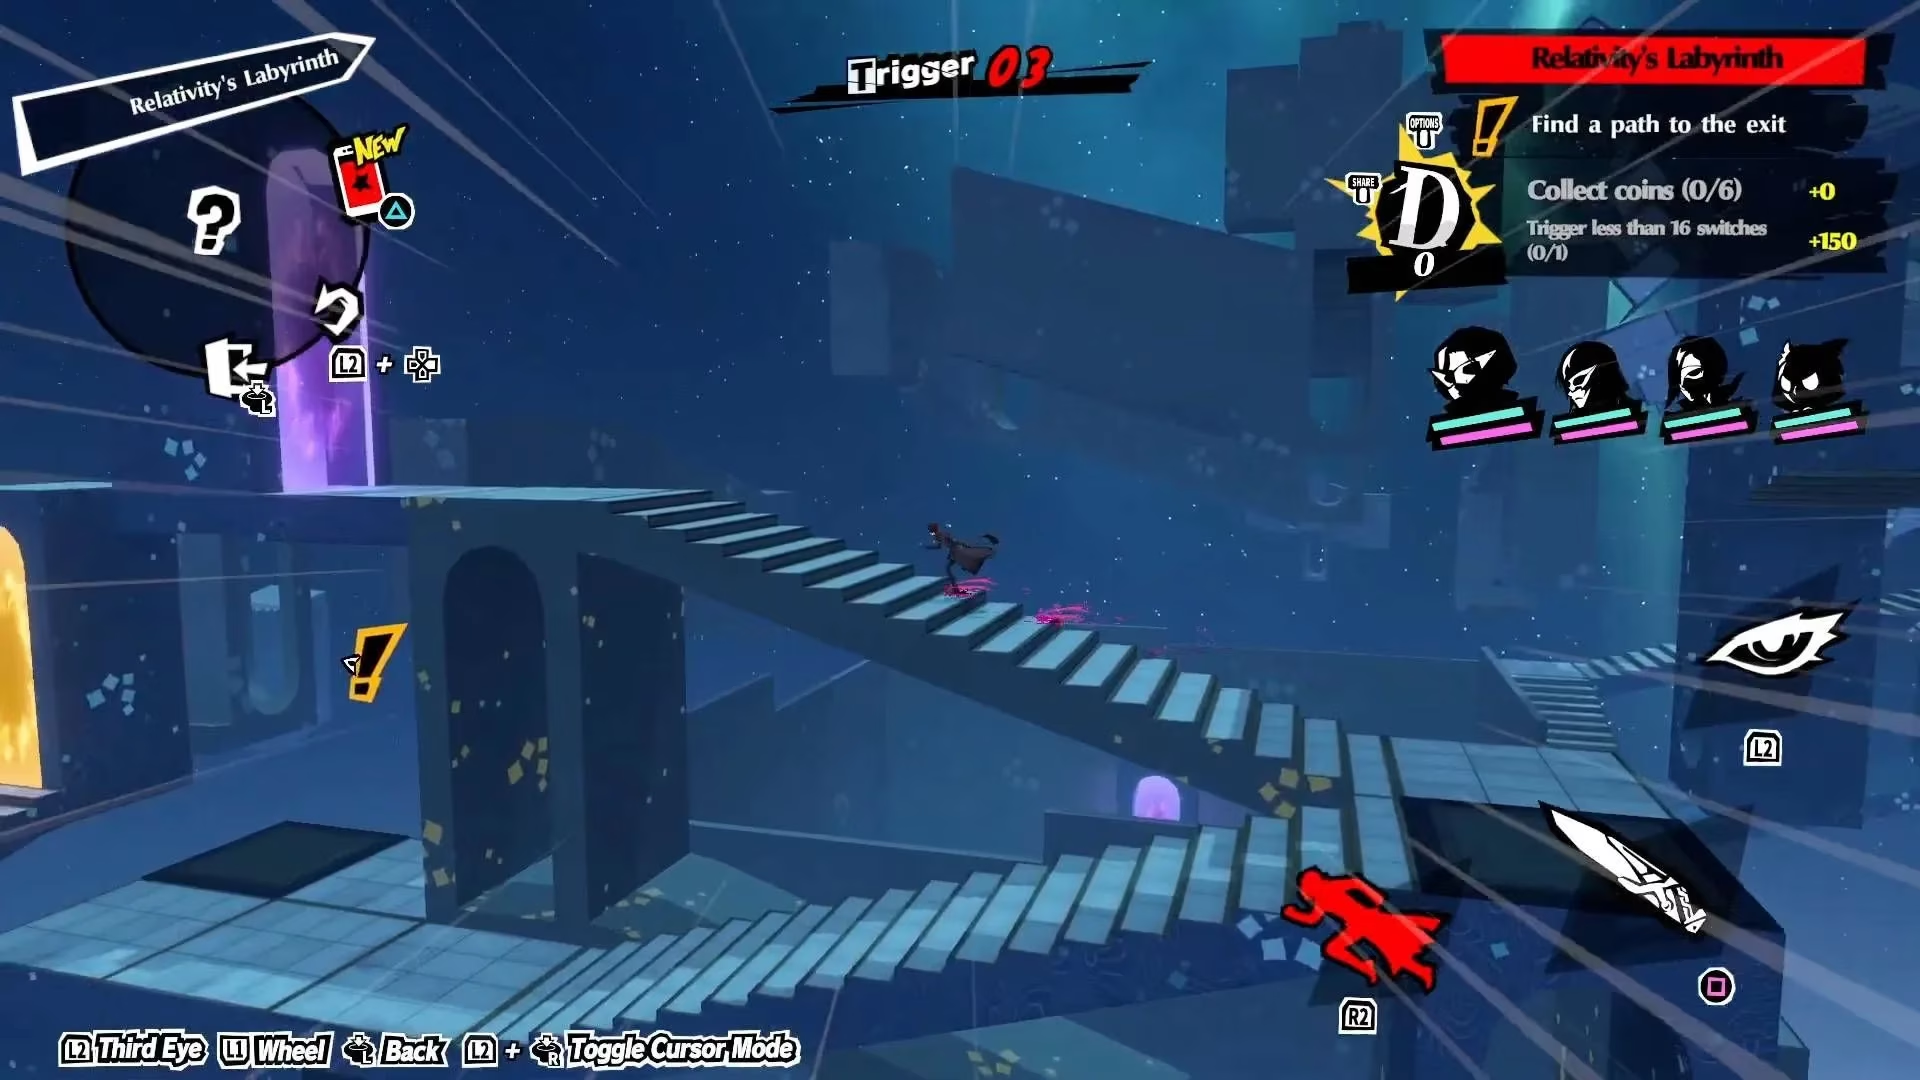
The stair‑shifting saga: beyond the next big room (grab the coin here), step through the portal near the image below. Climb the adjacent stairs for a coin, then press the nearby switch twice to shift the stairs into a new position. Re‑enter the portal to see the stairs relocated, ascend for the final coin, and activate one last switch between two portals. The final portal deposits players directly at the exit.
Relativity's Labyrinth rewards patience and spatial memory. Once the four stages are fully cleared under the switch limit, players can claim the entire trove of upgrade materials and event currency. For those still finding their bearings, remember: each misstep is a lesson in how the labyrinth breathes, and every platform rotated is a stanza in the poem of its logic.
Comments